You can turn a boring activity like painting a room into a fun activity, and do it like a pro. Painting changes a room by making it look more clean, and is a craft that anyone can learn. You will need some tools and some preparation before starting. If you don’t know how to paint a room, we’re definitely here to help.
Get Quality Tools

For a professional painter, tools are everything. They need the best painting tools to properly paint a room. Some of the tools you need are:
- Brushes: You should get good brushes that don’t shed their bristles
- Roller frame: Get a premium one of 9 inches that can be used on other projects. You can also get a couple of smaller sizes.
- Roller cover: A cover with a thick nap is perfect for absorbing and transferring paint to the wall. Remember to use a new one with every coat of paint.
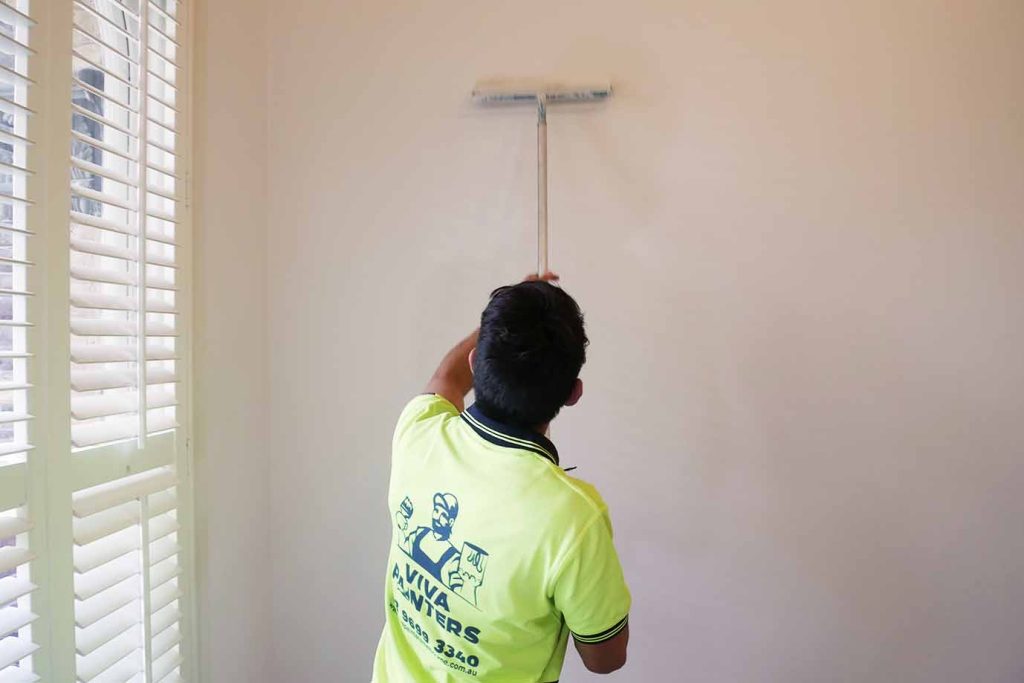
- Extension pole: It should have a locking mechanism to reach high places.
- 5-gallon paint bucket: Using this instead of the paint tray and liner method allows you to refill your roller more easily.
Prepping

You should take your time prepping the room. Remove as many things from the room as possible and put the furniture at the center and cover with a large plastic sheet. Remove things like artwork, shelves, nails and hooks from the walls. Remove switch plates and protect any uncovered outlets. Patch, clean and prime the walls.
Step 1: Cover the Floor and Unmovable Furniture
Use drop cloths like rosin paper and plastic tarps to cover and protect everything. If you have hardwood floors, rosin paper would be great since plastic tarps are slippery.
Step 2: Remove the Trim, or Mask It
You should place painter’s tape along the edges of the door and windows. This prevents any paint and patching materials from ruining them. If the room has baseboards, you can remove them, or place painter’s tape along the top edge.
Step 3: Patch the Walls

Look for any gouges, scratches and large holes in your walls. You should also look for cracks and any sign of peeling. You can use a fine-grit sandpaper to smooth out any of the smaller imperfections and scratches. The old peeling paint can be scraped off using a paint scrapper. Use a sandpaper to smooth over and feather the edges if scraped paint. For the larger imperfections, you can spackle and sand them out.
Step 4: Clean the Walls
If you will know anything about how to paint a room, it should be to always paint on clean walls. Any dirt on your walls will be visible after you paint on it. Use trisodium phosphate (TSP) to wash your walls. It is perfect for removing dirt and oil stains.
Pour some TSP into a bucket full of cool water. Take a sponge, soak it into the solution and clean your walls with it. Rinse the walls with clean water and a sponge, then allow the walls to air-dry.
Remember to protect your skin and eyes from TSP. It is a very strong chemical and can cause irritation. Rubber gloves, long sleeves and safety eye goggles will help.
Step 5: Prime the Walls
When you prime your walls, paint can adhere better to them. Interior walls do well with oil-based primers. For clean and stainless walls, using self-priming paint would be better. If you are painting a light color on a dark wall, use a tinted primer. Tinted primers are also great if you are painting over a wall with the same color.
Step 6: Cut-in the Edges
Cutting-in means to paint to the edge of the areas that will not be painted. It helps to fill in surfaces where the paint rollers will not reach. For professionals, cutting-in is better than using painter’s tape. It is cheaper, cleaner and less wasteful.
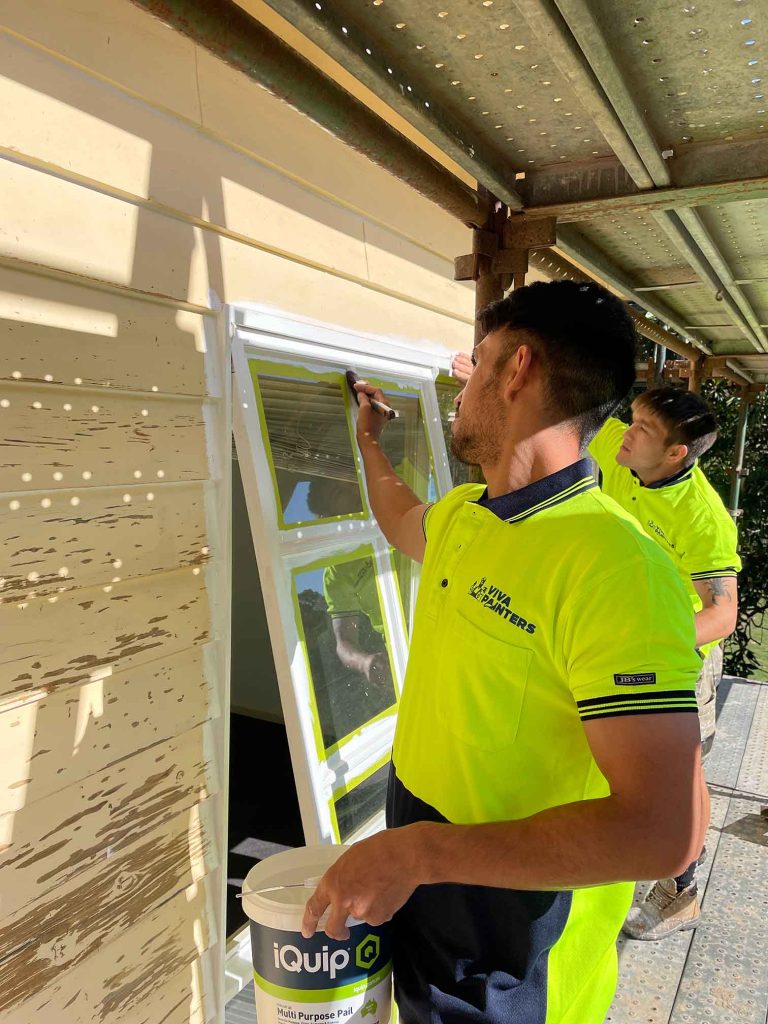
You can lightly dip an angled brush into the paint. Draw the brush gently up close on the areas that will not be painted, like the door trim. Use a cloth rag to clean up any paint marks.
Mask the trim using tape to guide you. However, do not rely on the tape completely. Have the brush travel up to the tape.
Step 7: Prepare Roller With Paint
When you dip the roller into the paint, do not leave it in. An overloaded roller will cause major drips that may be difficult to roll out. Pull it along the screen until it is completely coated. You will know it is ready when you hear a sticky sound.
Step 8: Roll in a W Shape

Starting with one corner, make a downward pass of 3 feet. Follow it with an upward pass and continue till you have a W. You can then overlap and fill more W shapes. Ensure you do this quickly so that the paint edges remain wet and you paint over them.
If you have matte or flat interiors, you can escape painting over dry edges. For glossy paint, you should brush or roll from the wet edges. This ensures you have a smooth finish.
Step 9: Fill In and Complete
Roll out the blocks of paint in the W method. Ensure you are working with enough light so you can see what you are doing. On the areas you used the cutting-in method, turn the roller horizontally or vertically to fill it in with paint. This is also where you smooth it all out.
If you are learning how to paint a room, these 9 steps are the basics of what you need to know. You should apply two coats of paint to get an even coat of paint. There are some brighter colors that may need more coats, but that will be for you to decide. Other than that, have fun with it and the result will be amazing. Happy painting!
Professional Help
At Viva Painters we are always here to help you with your next painting project. We offer painting services Melbourne wide. DIY Painting can be very time consuming and challenging. Spend your valuable time with your family and call us on 03 9699 3340 to take care of your painting job.


